So remember when I said I was leaving procedural generation out of the game until I hit playable prototype? Well it looks like I lied. Since learning about procedural generation in my advanced algorithms classes way back at school I’ve really been fascinated by the idea of getting the machine to create portions of your game for you. It has been my goal from the beginning to have procedurally generated maps in the game for many reasons, but right now I’m implementing them because 1) I’m sick of staring at the same map over and over again; 2) I don’t feel like manually creating a bunch of maps; and 3) it’s my game and I’ll do what I want.
Note for developers checking out this post: I guarantee this has been done better elsewhere and there are probably huge improvements that I could make, but for right now this simple generator fits my game’s needs.
Note to everyone checking out this post: In order to explain what I’m doing, I’m using the doodles from my design doc notebook. These are not supposed to be pretty. Yes I’m aware my handwriting is not very good.
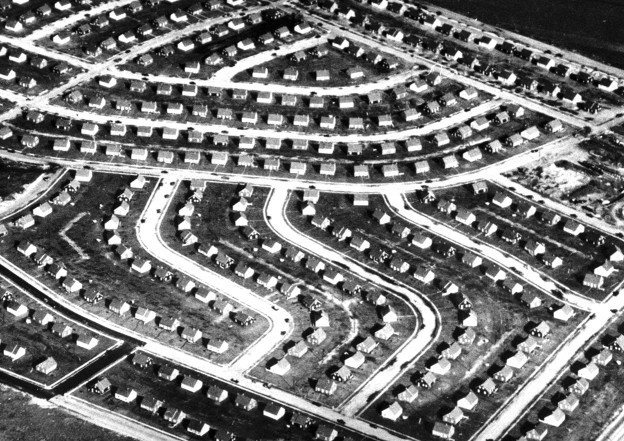
The first step is to figure out exactly what it is you want to generate. The maps I want to make are aimed to be disjointed suburban areas. Small towns with shopping areas and lots of houses. It’s important to me that roads meet up at intersections and that houses stay next to roads, but I don’t necessarily need everything to be connected. For Zeds I want to start with a very basic map generation and make it more complex over time.
I’ve found the best way to tackle a problem as large as procedural generation is to break it down into smaller problems. The task of making a map can be simplified into what I’m calling quadrants. Quadrants can then be divided into what I’m calling tiles, and a tile will just be a small collection of the actors that I’m already using. Confused? Hang in there I’ll explain all these pieces in a second.
The most important part of this algorithm is the quadrant. The quadrant is a collection of 9 tiles in a 3×3 formation. 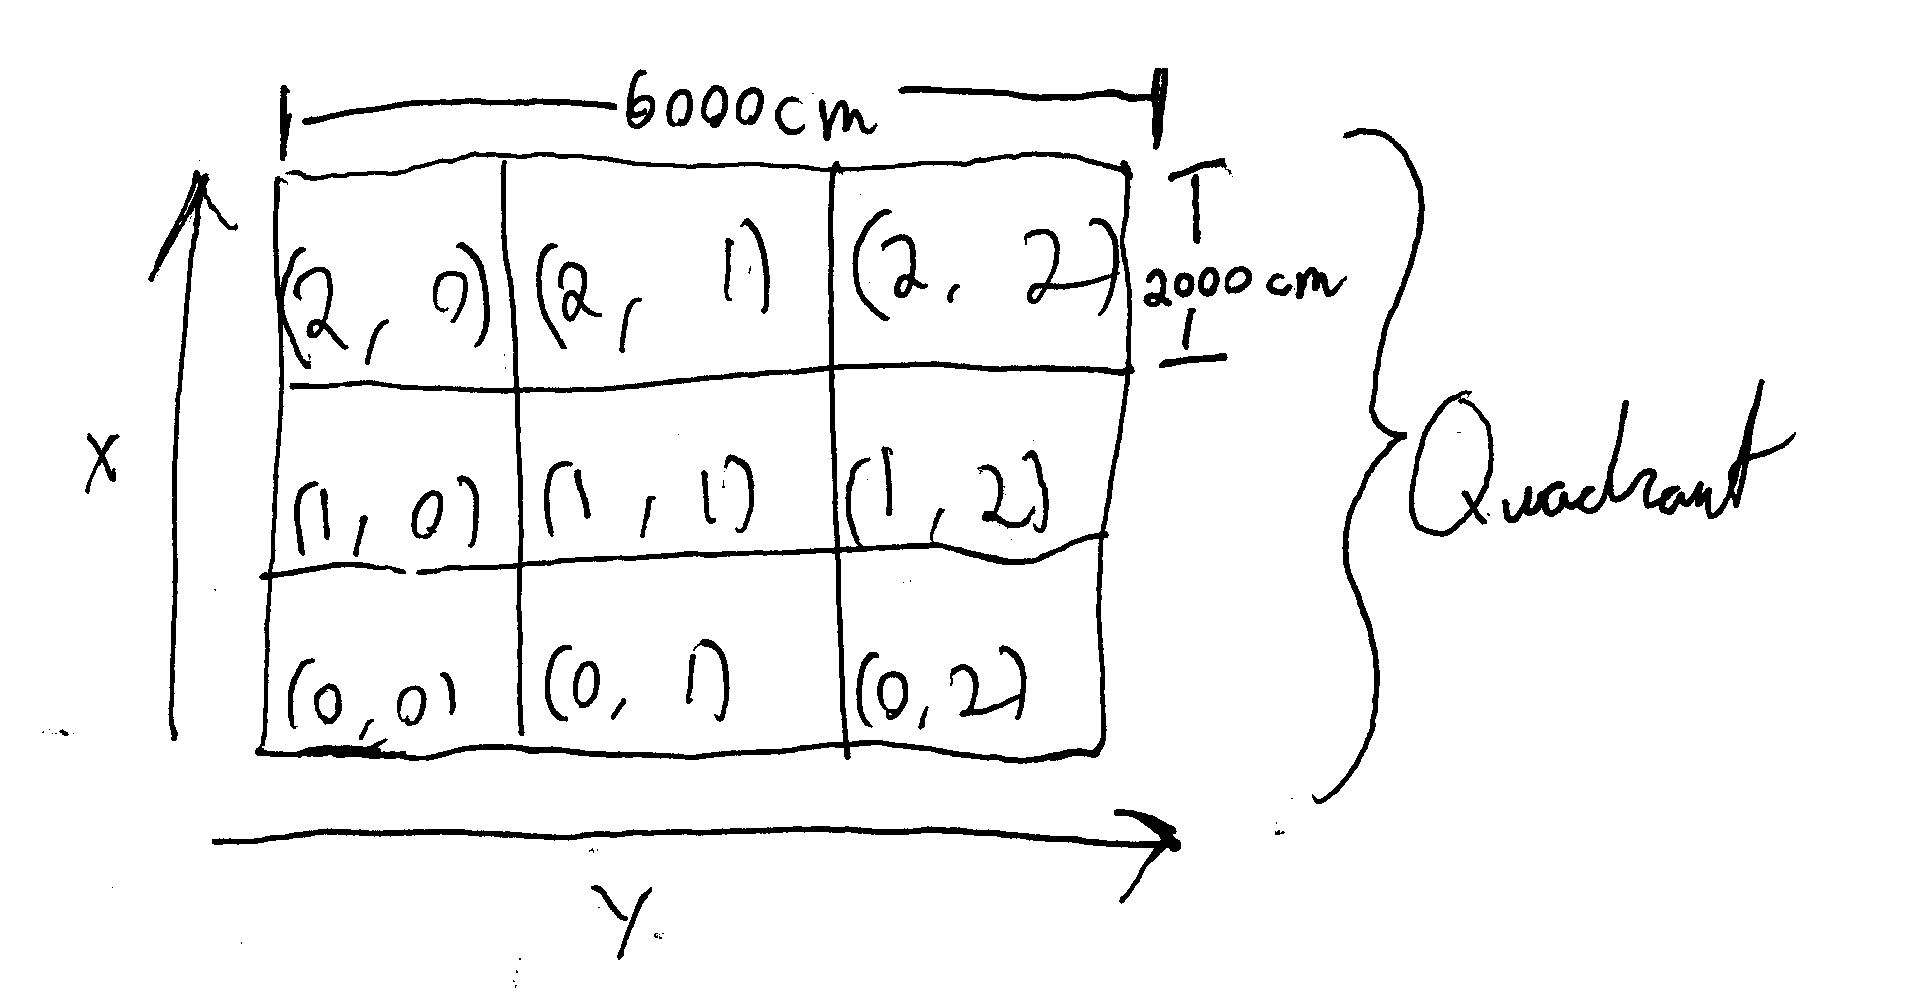
To make my life easier, I’ve done three different things to define a quadrant. First, I’ve given everything arbitrary measurements (these measurements are likely to change, but for the sake of planning, I chose numbers that made the math easy). Second, I made the North-South Axis the X-axis and the East-West axis the Y-axis. That may seem strange, but I’m designing this in the Unreal Engine from a bird’s-eye view, looking down at the city from above. Because of the way Unreal labels their axes, if I were to use the more typical configuration I would technically be below the city, looking up. Keeping their convention allows me to easily keep things organized in my mind, since my brain has enough trouble with this stuff as is. Third, I labeled each tile so that I can refer to them more easily in the future.
Quadrants will follow a couple of rules so that they fit together nicely.
- A quadrant can have 0 – 4 connected neighbors.
- A quadrant only connects to its neighbor through the middle tile of any of its four sides.
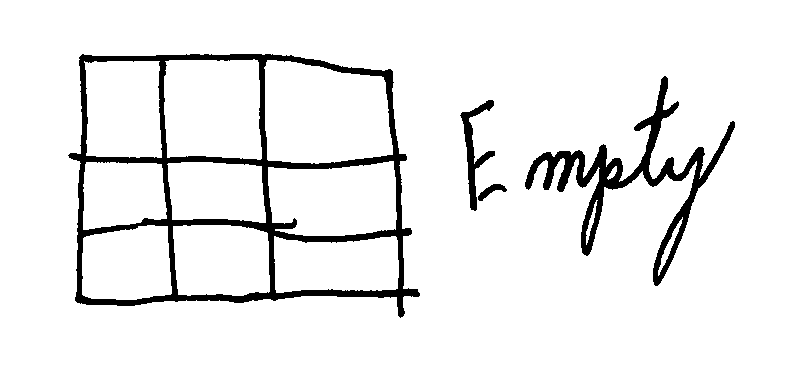
- The tiles of a quadrant are either empty, a road, or a building.
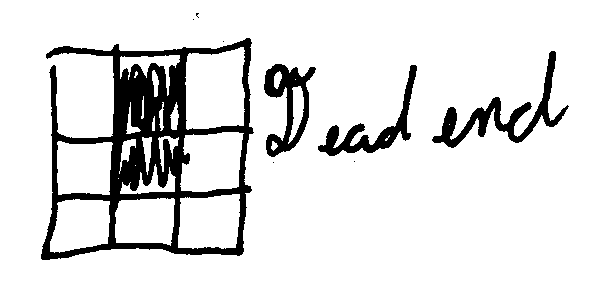
With those rules in place I found there are a limited number of shapes a quadrant can be. There are even fewer when you realize that certain shapes are just rotated versions of other shapes. So once you remove the rotated versions of shapes there are only 6 distinct types of shapes a quadrant can have. In the images below, the road tiles of the quadrant are indicated by the black scribbles.
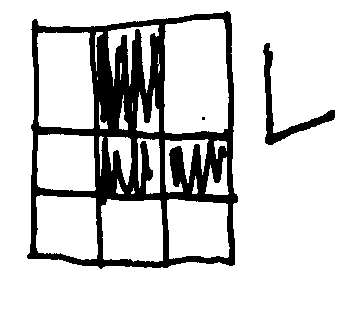
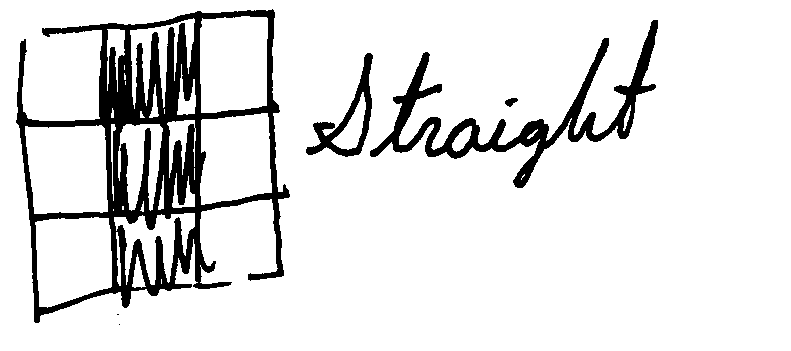
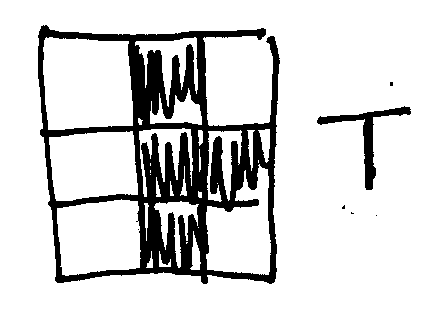

Using any one of these shapes and a rotation I can describe nearly any quadrant I need to build. Then I can define my map as a NxM matrix of quadrants.
So now comes the tricky part: implementation. A word of warning to the developers out there for what you are about to read. I am aware that if there’s a task that really should go into C++ code, it’s this one. That having been said, I’m faster at prototyping these things in blueprints and doing this quickly is my main goal right now. I’ll probably go back and rewrite this section out into C++ code eventually, but read on if you’re interested in seeing some eh…. creative uses of blueprints.
One of the things that Unreal’s blueprints doesn’t have is multi-dimensional arrays, but a two-dimensional array is easily faked using a one-dimensional array and some math:
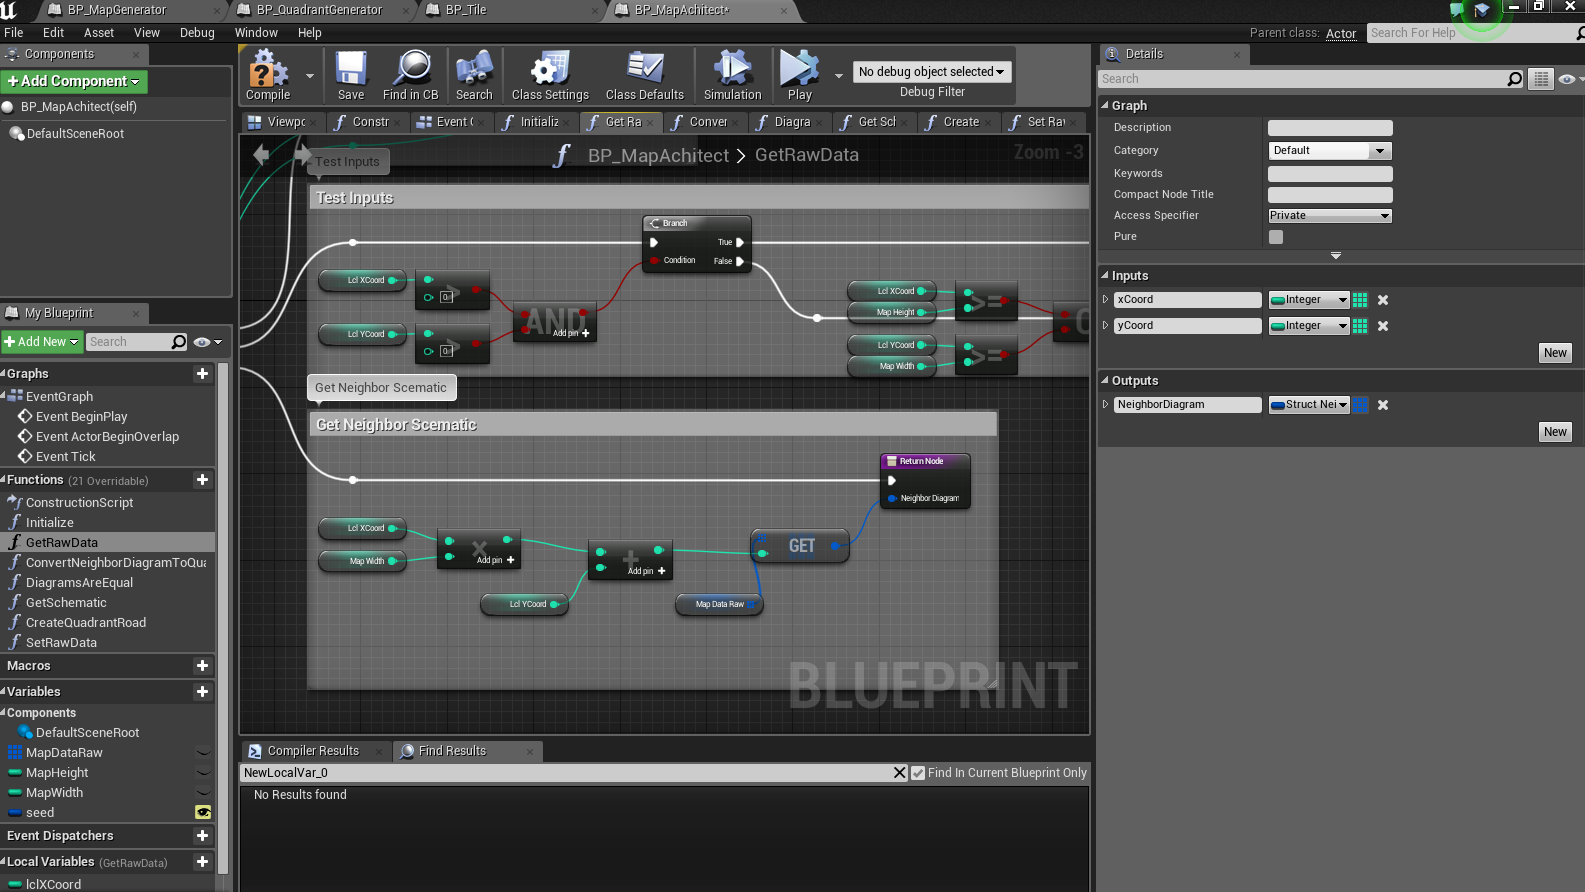
To generate the data that would become my world, I created a pseudo two-dimensional array full of structs that had a binary value for each possible neighbor. To generate the connections, I randomly flipped the connection between any two neighbors to true.
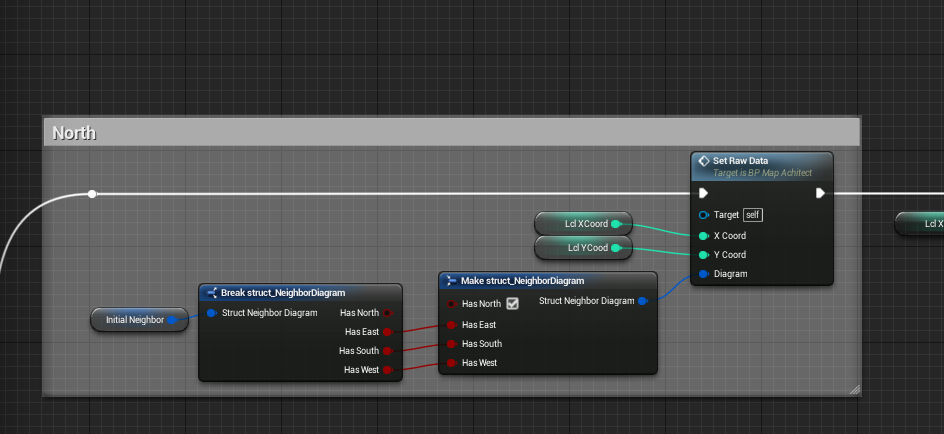
Once I was happy with my junk data I just needed to translate back from the binary-neighbor structs to their corresponding shape and rotation…
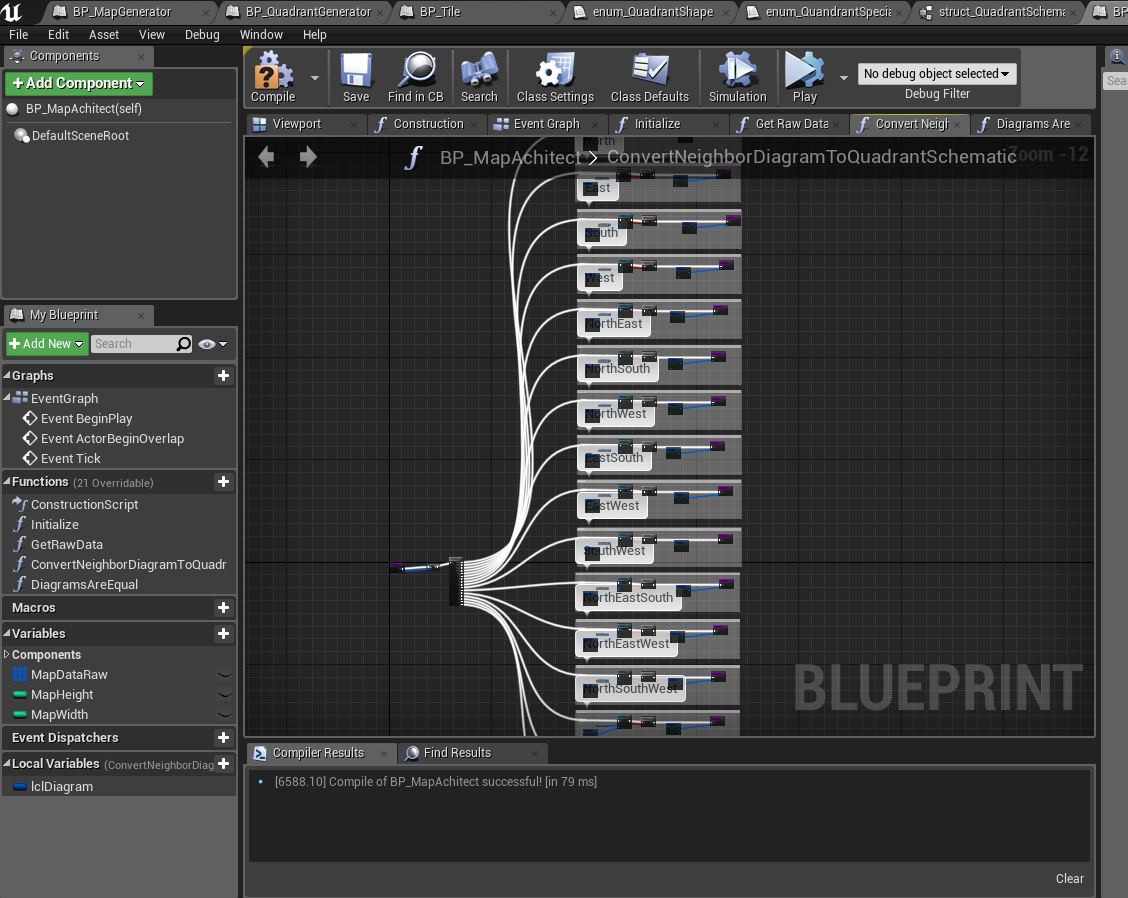
At this point in the process, I am able to randomly generate data and then express it as a collection of quadrant shapes and rotations. Now all I have to do is take that information and spawn the correct assets for each in the correct location on the map. Simple right?
That’s it for this week. Next time I’ll go into how I designed the quadrants and tiles, and how I spawned them on the map. TO BE CONTINUED…
P.S. I’m going to try live streaming my dev night this week, so follow me @JimmothySanchez on twitter. I’ll announce it before I go live on most likely Wednesday and Thursday Night. I’ve never streamed anything so it’s probably going to be a mess, but we’ll see how it goes.
